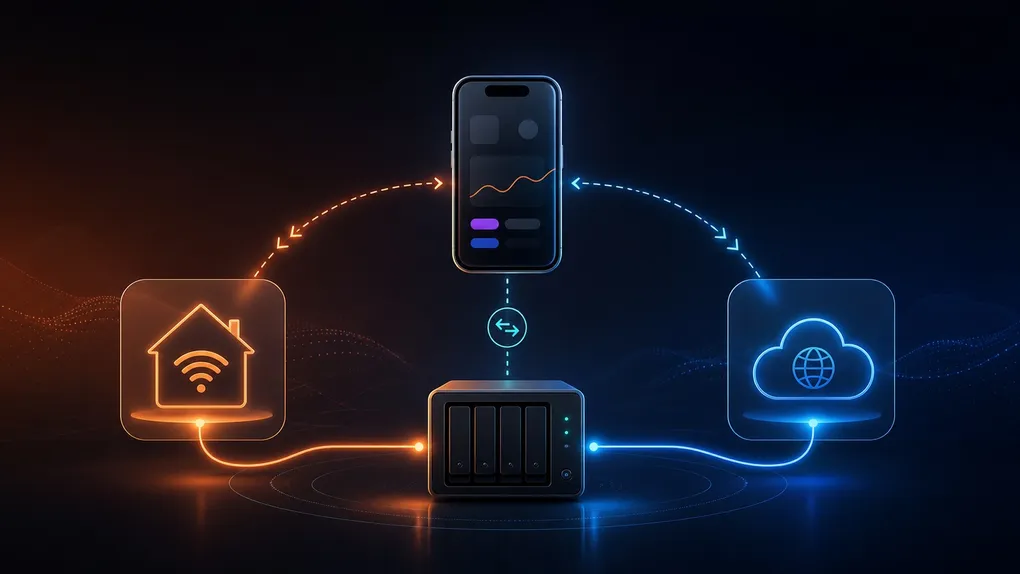
Smart Connect helps Unraid Deck choose the right connection address based on your current network.
For many home labs, the best address is different depending on where you are:
- At home, you usually want the fast local LAN address, such as
192.168.1.100. - Away from home, you usually need a reachable fallback address, such as a DDNS domain, reverse proxy domain, VPN hostname, or public address.
Without Smart Connect, you would need to edit the server address manually when switching between home WiFi and remote networks. With Smart Connect enabled, Unraid Deck can switch between the primary address and fallback address automatically.
What Smart Connect Does
Smart Connect uses your bound WiFi network names to decide which route should be active:
| Situation | Address used |
|---|---|
| Your current WiFi matches a bound SSID | Primary address |
| Your current WiFi does not match, or you are away from home | Fallback address |
| Fallback address or bound WiFi is missing | Primary address |
The primary address is the normal server address configured on the main server page. In most setups, this should be your LAN IP or local hostname.
The fallback address is the address that works outside your home network.
Before You Start
Prepare these details before opening the Smart Connect page:
- Primary address: your local Unraid address, for example
192.168.1.100. - Fallback host: the address reachable outside your home network, for example
tower.example.com. - Fallback port: usually
443for HTTPS or80for HTTP, unless your remote setup uses a custom port. - HTTPS setting: whether the fallback address should use HTTPS.
- Home WiFi name: the SSID that should be treated as your home network.
Smart Connect does not publish your Unraid server to the internet by itself. Your fallback address must already be reachable through your own remote access setup, such as DDNS, VPN, reverse proxy, or another secure access method.
Step 1: Open Smart Connect
Open Unraid Deck on your iPhone and go to your server configuration page.
From there:
- Open the server you want to configure.
- Expand Advanced Settings.
- Tap Smart Connect.
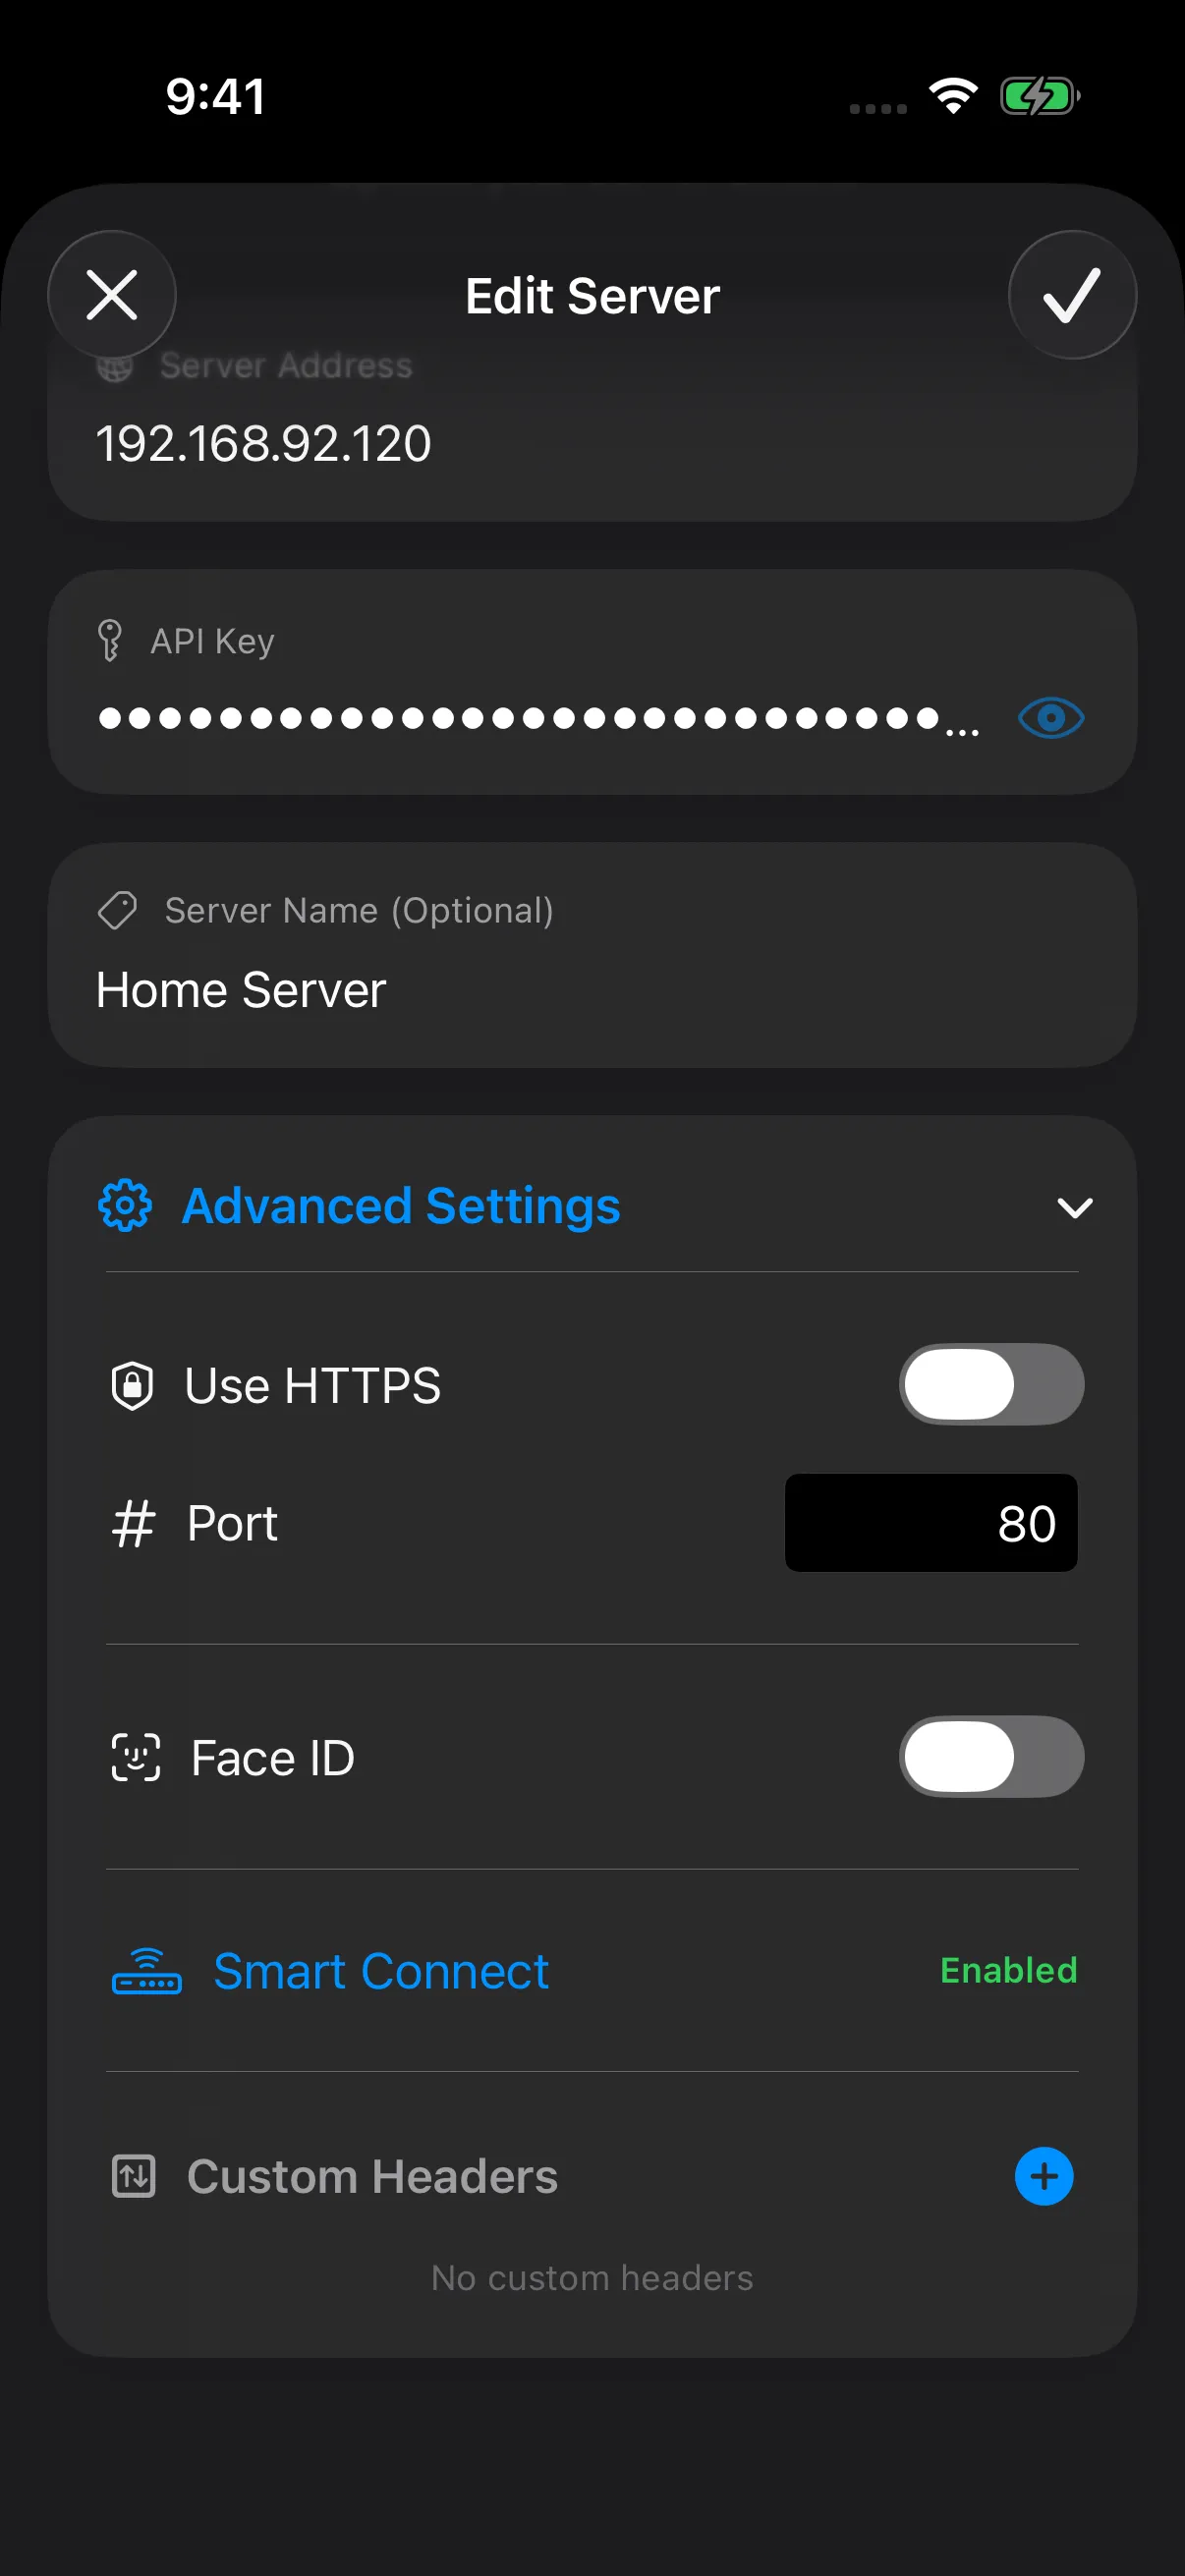
If the row already shows Enabled, Smart Connect has enough information to activate. You can still tap the row to review or update the WiFi and fallback settings.
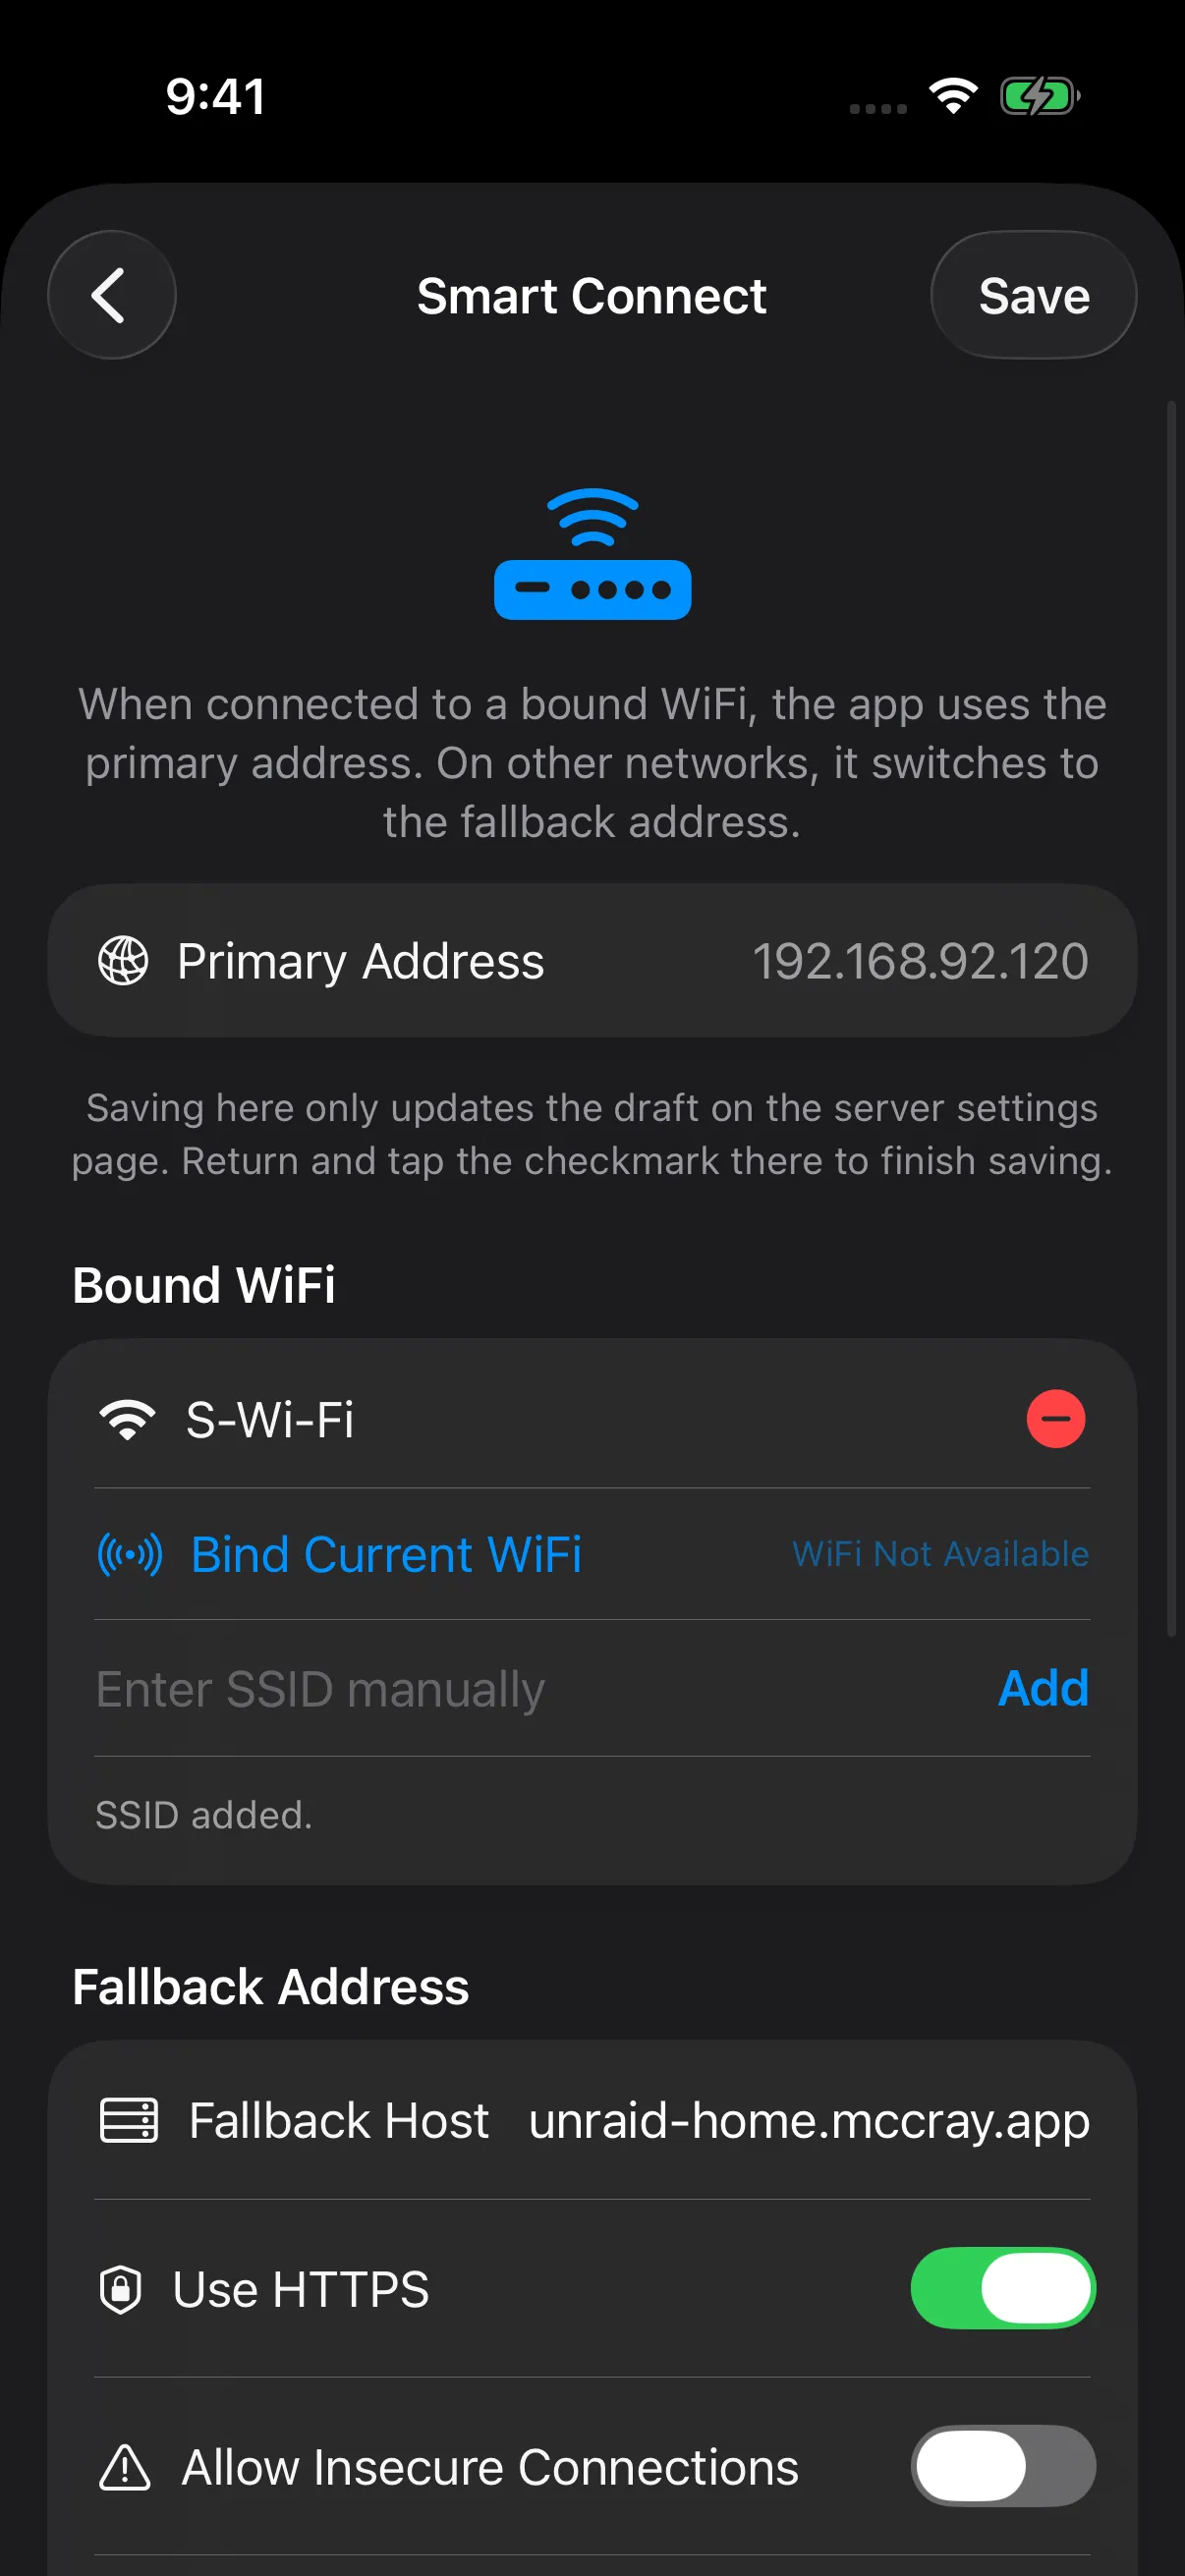
The Smart Connect page shows your primary address, bound WiFi networks, fallback address settings, and the current route status.
Step 2: Bind Your Home WiFi
In the Bound WiFi section, add the WiFi networks that should use your primary address.
The easiest option is Bind Current WiFi. When you tap it, iOS may ask for Location permission. This is expected: iOS requires Location permission before an app can read the current WiFi name.
Unraid Deck only uses this permission to identify the WiFi network name for Smart Connect matching. It does not need your GPS location for this feature.
You can also enter an SSID manually. This is useful when:
- You are setting up the server before connecting to your home WiFi.
- Your current WiFi name is not available, such as in a simulator or a restricted network environment.
- Your home uses separate SSIDs for 2.4 GHz and 5 GHz networks.
- You want to add more than one trusted home network.
For example, you may bind both Home-5G and Home-2.4G.
Step 3: Configure the Fallback Address
In the Fallback Address section, enter the address Unraid Deck should use when your current network does not match a bound WiFi.
Typical examples:
tower.example.com
unraid.mydomain.net
tower.tailnet-name.ts.net
Then configure the fallback connection options:
- Enable Use HTTPS if your fallback address is served over HTTPS.
- Set the fallback Port to match your remote endpoint.
- Enable Allow Insecure Connections only if you intentionally use a trusted self-signed or private certificate.
If the port field is lower on your screen, scroll down inside the Smart Connect page to finish the fallback configuration.
If you leave the fallback host empty, Smart Connect is not enabled yet. The app will keep using the primary address.
Step 4: Save the Smart Connect Draft
Tap Save on the Smart Connect page.
This saves the Smart Connect values back into the server configuration draft. To finish the setup, return to the server configuration page and tap the final save/checkmark button there as well.
This two-step save flow is important because Unraid Deck validates the whole server configuration before writing it permanently.
Step 5: Verify the Active Route
After saving, reopen Smart Connect and check the Connection Status section.
Look for these fields:
- Current Network: the WiFi network currently detected by iOS.
- Match Result: whether the current network matches one of your bound SSIDs.
- Active Route: whether Smart Connect is using the primary or fallback route.
- Active Address: the exact URL that Unraid Deck will use.
When you are connected to your home WiFi, the active route should be Primary.
When you switch to cellular data or another WiFi network, the active route should become Fallback.
Common Issues
Smart Connect says it needs Location permission
iOS requires Location permission before apps can read WiFi SSID names. Open iOS Settings, find Unraid Deck, and allow Location access. Then reopen Smart Connect and try again.
I entered a fallback address, but Smart Connect is still not enabled
Smart Connect requires both parts:
- At least one bound WiFi network.
- A non-empty fallback host.
If either one is missing, Unraid Deck keeps using the primary address.
My fallback address does not connect outside home
Smart Connect only chooses which address to use. It cannot make an unreachable address reachable.
Verify your remote access setup first:
- Confirm the fallback domain resolves correctly.
- Confirm the port is reachable from outside your LAN.
- Confirm HTTPS and certificate settings match your server or reverse proxy.
- If you use VPN or Tailscale, make sure the iPhone is connected to that network.
I use multiple home WiFi names
Add each home SSID to Bound WiFi. Smart Connect treats any matching SSID as your home network and uses the primary address.
Recommended Setup
For most users, the cleanest setup looks like this:
| Field | Recommended value |
|---|---|
| Primary address | Local LAN IP or local hostname |
| Primary port | Your local Unraid API/WebUI port |
| Bound WiFi | Your home WiFi SSID |
| Fallback host | DDNS, VPN hostname, or reverse proxy domain |
| Fallback HTTPS | Match your remote endpoint |
| Fallback port | Usually 443, unless customized |
Once configured, Unraid Deck can keep the fast local route at home and switch to the remote route when you are away, without manually editing your server address every time.